Organize your kitchen counter
A cluttered kitchen counter can make even the most beautiful kitchen feel chaotic. Bottles of olive oil, pepper grinders, and spice jars quickly take over valuable space. The solution is simple, stylish, and inspired by Scandinavian design principles: using trays to create organized kitchen zones.
This method doesn’t just tidy your space—it transforms your kitchen into a calm, functional, and visually pleasing environment.
How to Organize Your Kitchen Counters with Trays

Follow this simple system to avoid clutter:
Step 1: Define Zones
Identify your kitchen “stations”:
Beverage zone (coffee/tea)
Cooking zone
Cleaning zone
Decorative zone
Here are some of our favorite products we love:

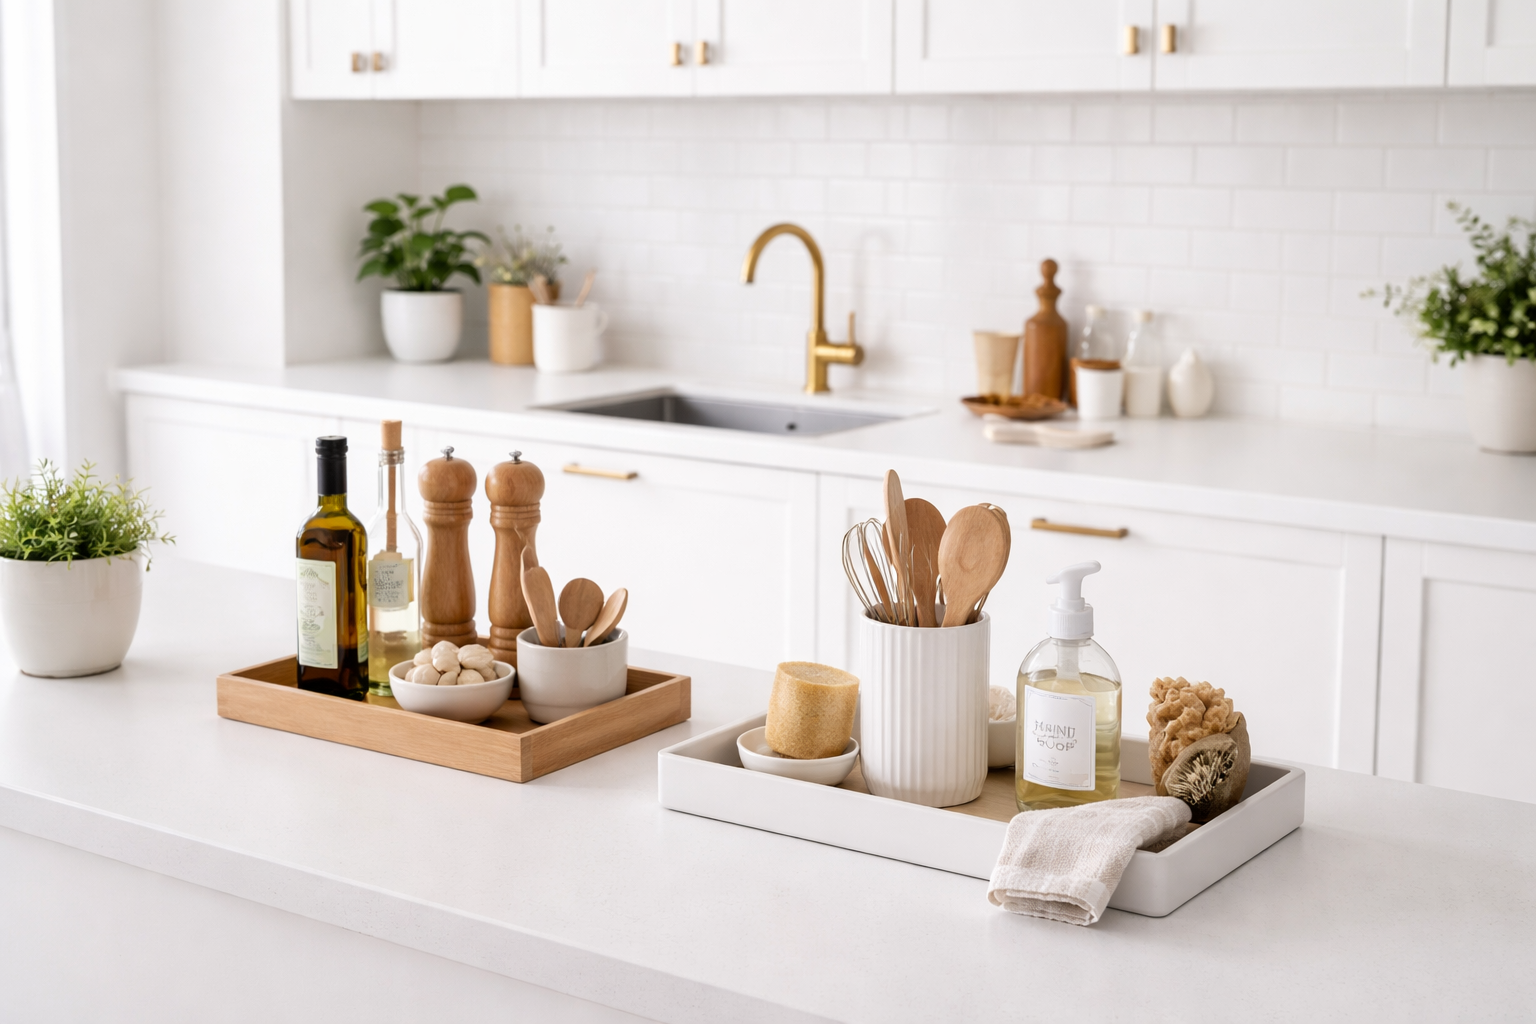
Step 2: Assign One Tray Per Zone
Each tray should act as a boundary. Avoid mixing categories on one tray unless they are tightly related.
Step 3: Limit Items per Tray
A good rule:
Small tray → 3–5 items
Medium tray → 5–8 items
Large tray → up to 10 items (only if neatly arranged)
Step 4: Match Tray Style to Function
Functional zones → durable materials (metal, stone, plastic)
Decorative zones → aesthetic materials (wood, ceramic, rattan)
Step 5: Leave Breathing Space
Avoid filling trays edge-to-edge. Empty space makes the arrangement feel intentional, not crowded.
Styling Tips for a Clean Look
Stick to a consistent color palette per tray
Use matching jars or containers for uniformity
Mix heights (bottles + small bowls + jars) for visual interest
Keep labels facing outward for easy access
Rotate seasonal items (e.g., herbs in summer, candles in winter)
Final Thoughts
Kitchen counter tray organizers are one of the simplest ways to transform your space without renovation. By grouping items intentionally and choosing the right materials for each zone, you can create a kitchen that feels both functional and beautifully styled.
A well-organized tray isn’t just storage—it’s a small design statement that makes your everyday routines smoother and more enjoyable.